Removing automotive window tint can be simple if you use the right tools and methods. Whether you’re fixing bubbled film or replacing it entirely, understanding how to remove tint safely prevents scratches and adhesive damage to your glass.
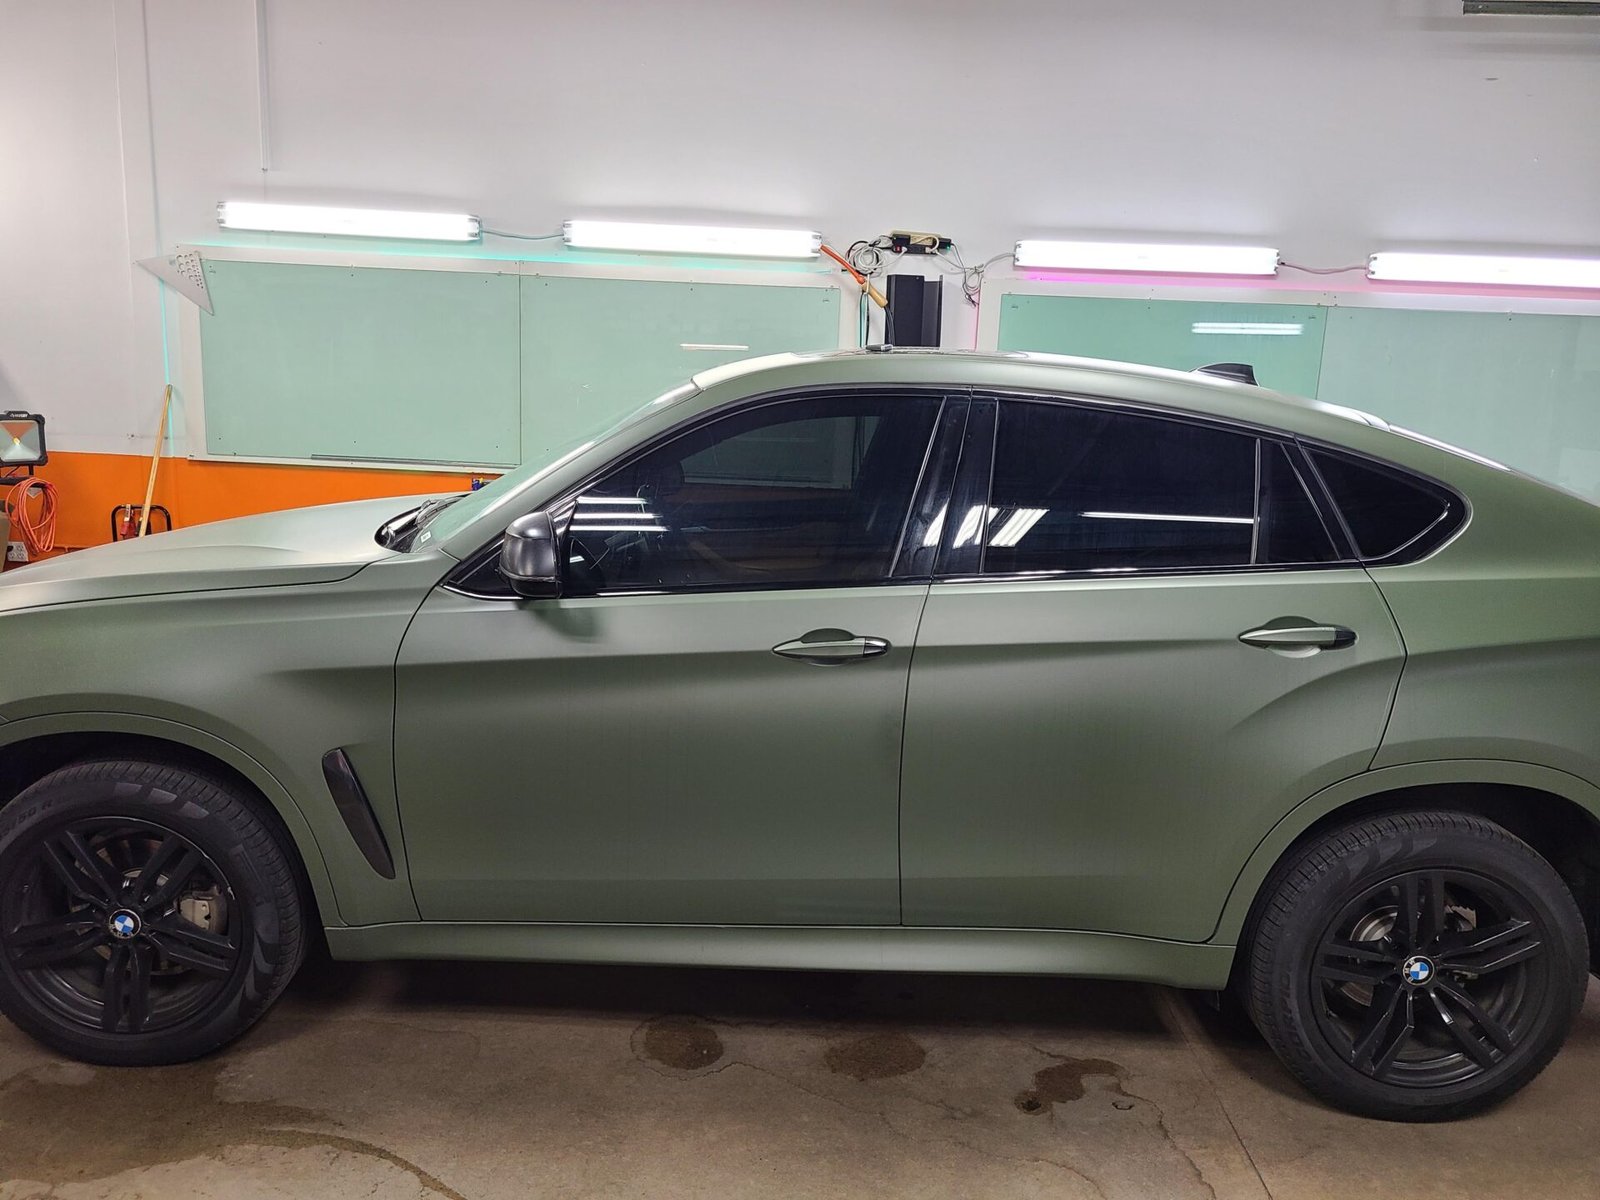
At Polarizauto, we specialize in safe tint removal and reinstallation for vehicles across Ramsey, MN. Our team uses professional steam and heat techniques to ensure your glass stays clean and ready for a new finish without residue or harm.
In this article, you’ll learn which tools, chemicals, and heat methods work best, plus when to rely on professional help. Follow these steps to achieve smooth, damage-free tint removal for clear, polished results.
Why Remove Automotive Window Tint
There are several practical reasons you might need to remove window tint from your car. Whether it’s for legal reasons, improving your view, or preparing your vehicle for a fresh tint job, knowing the why helps you approach the process with care and purpose.
Legal Compliance and Safety
Your car window tint may not meet local laws, which vary by state and sometimes even by city. Tint darkness and reflectivity restrictions exist for safety, helping maintain clear visibility, especially at night or in bad weather. If your tint is too dark or old and starting to fade or bubble, it could cause legal issues like fines or failed vehicle inspections.
Safety is another concern. Poorly applied or deteriorated tint can reduce your ability to see clearly, increasing risks while driving. Removing non-compliant or damaged tint keeps your view clear and ensures your vehicle meets Minnesota’s tint laws if you’re around Ramsey or Anoka County.
Restoring Visibility and Aesthetics
Tinted windows can lose their appeal over time. Fading, bubbling, or peeling not only affects how your car looks but also how well you can see out of your windows. Removing old tint restores clear glass, improving both your driving visibility and the overall appearance of your vehicle.
Damaged tint can make your windows look dirty or scratched even after cleaning. Removing it gives you a fresh, clean slate. After all, your car deserves to look its best—not clouded by worn-out films that interfere with natural light and visibility.
Preparing for New Window Tint Installation
When you’re ready to upgrade or replace your car window tint, removing the old layer properly is essential. Leftover adhesive or film residues can prevent new tint from sticking securely, leading to bubbling or peeling soon after the new application.
A clean, smooth window surface lets your new tint perform as intended, enhancing UV protection, heat rejection, and your vehicle’s privacy. Professionals recommend carefully removing old tint or letting specialists handle this step to avoid damage and ensure the highest quality result with your new tint.
Essential Tools and Preparation
Removing tint from car windows requires specific tools and a well-prepared workspace to avoid damage and ensure a clean finish. Having the right equipment and taking safety precautions help you complete the job professionally and efficiently.
Tools and Protective Equipment Needed
To remove tint effectively, you’ll need the following key tools: a heat gun or steamer to loosen the adhesive, a razor blade or plastic scraper for lifting the film, and a spray bottle filled with soapy water or ammonia solution to soften the tint glue.
Wear protective gloves to avoid cuts from sharp blades and safety glasses to protect your eyes from chemical sprays or glass shards. A microfiber cloth will help clean residue without scratching the glass.
Having everything ready before you start prevents interruptions and damage. Using the right tools also reduces the risk of leaving adhesive behind or scratching your vehicle’s windows.
Work Area Preparation and Safety Tips
Choose a shaded, well-ventilated area to work in; direct sunlight can cause tint and adhesive to dry too quickly, making removal harder. Make sure your vehicle is parked on a flat surface to maintain stability.
Cover surrounding areas inside your car with plastic or towels to protect your interior from drips or debris. Keep pets and children away to avoid distractions or exposure to chemicals.
If you use chemicals like ammonia or commercial tint removers, ensure you follow all label instructions and wear appropriate ventilation masks if needed.
Preparing your workspace and gathering tools first will make the tint removal process smoother and safer. For expert application or tougher jobs, experts offer professional window tinting and removal services you can trust.
Methods for Removing Automotive Window Tint
Removing window tint requires the right approach to avoid damage and get a clean finish. You’ll work with several common techniques, each suited for different tint conditions and tools you have available.
Soap and Scrape Technique
This method is straightforward but requires patience and care. Start by spraying soapy water generously on the window to soften the adhesive. Use a plastic scraper or razor blade at a sharp angle to gently lift the tint from one corner. Avoid metal scrapers directly on glass, as they can scratch or damage the surface.
Work slowly, peeling the tint back while reapplying soapy water to keep the adhesive soft. This technique is best if the tint is peeling or bubbling but still intact. Be especially careful with rear windows that have defroster lines – scraping too hard can break them, which is costly to fix.
Heat Gun or Hairdryer Technique
Applying heat softens the adhesive, making it easier to peel the tint film away from the glass. Use a heat gun or a household hairdryer on high heat, holding it 6-8 inches from the window. Move the device in slow, even strokes to warm the tint without overheating the glass.
Once heated, start peeling the tint from a corner using gloves or a plastic scraper. The warmed adhesive becomes sticky and stretchy, allowing easier removal. This method reduces the chance of adhesive residue remaining. However, be cautious not to burn the tint or damage window seals by holding the heat too close or for too long.
Ammonia Method
The ammonia method targets the adhesive beneath the tint using a chemical solvent. You’ll need to spray a solution of ammonia inside a sealed plastic bag or sandwich bag placed on the inside of the window. Seal it tightly and let it sit for about 30 to 45 minutes.
Ammonia breaks down the adhesive, making the tint easier to peel off. After removing the bag, gently lift the film with a razor or scraper. Because ammonia can be harsh, always wear gloves and work in a well-ventilated area. This technique works well for stubborn, old tint but requires caution due to fumes and potential damage to defroster wires.
Environmental and Safety Concerns When Using Ammonia
The U.S. Environmental Protection Agency (EPA) advises that ammonia-based cleaners release volatile compounds that can irritate skin and eyes. Always ventilate the area and avoid direct inhalation. Using a low-VOC tint remover or steam method is safer for both you and the environment. Proper disposal of used film and materials ensures compliance with local environmental rules.
Steam Cleaning Method
Steam cleaning uses hot, pressurized steam to soften the adhesive quickly. Using a commercial steam cleaner or a handheld steamer, apply steam evenly across the entire window surface. Heat penetrates the adhesive, loosening it without harsh chemicals or scraping.
After steaming, peel off the tint slowly by hand or with a plastic scraper. The steam method is especially effective when dealing with thick or multi-layered tints. It’s gentle on defroster lines and avoids scratches when done properly. Make sure to dry the window thoroughly afterward to prevent water spots or streaks.
Each of these techniques can be effective depending on your experience, tools, and tint condition. Professional help can ensure safe removal without risking damage, especially if you’re removing tint from sensitive rear windows or those with complex adhesives.
Detailed Removal Steps by Method
Removing automotive window tint requires patience and the right technique to avoid damaging your glass or leaving adhesive residue. Different methods use various tools and chemicals, so it’s important to follow each step carefully for the best results and to maintain your vehicle’s appearance.
Step-by-Step for Soap and Scrape
Begin by spraying warm soapy water onto the window to soften the edges of the tint film. Use a razor blade or plastic scraper held at a 45-degree angle to gently lift a corner of the tint.
Once you find a peelable edge, carefully pull the film away from the glass in slow, steady motions. Avoid rushing, as tugging too hard can tear the tint or leave pieces behind.
After removing the film, clean off any adhesive residue using a window adhesive remover or rubbing alcohol with a microfiber cloth. This method is best for tints that are relatively new or not heavily glued.
Step-by-Step for Heat-Based Methods
Heat loosens the adhesive under the tint, making removal easier. Use a hair dryer or heat gun set to medium heat and hold it 6 to 8 inches from the window.
Move the heat source steadily over the surface for 5 to 10 minutes, focusing on one section at a time. The warmth softens the glue without damaging the glass.
Once the adhesive softens, begin peeling the tint with your fingers or a plastic scraper, starting at one corner. Keep applying heat as you pull to prevent the tint from breaking.
When the tint comes off, use a cleaner or adhesive remover to wipe away sticky residues for a clear finish. This technique works well for older tints but requires careful temperature control.
Step-by-Step for Ammonia Method
Work in a well-ventilated area and wear gloves when using ammonia, as it emits strong fumes. Spray undiluted ammonia liberally on the tint side of the window.
Cover the window with a plastic bag or cling wrap to keep the ammonia from evaporating. Leave it for 30 to 60 minutes, allowing the chemical to penetrate and soften the adhesive.
After soaking, use a razor blade or scraper to lift and peel the tint slowly. The softened glue makes the tint easier to remove in large sheets.
Thoroughly clean the glass with soapy water or an adhesive remover afterward to eliminate any lingering residue or ammonia smell.
Step-by-Step for Steam Method
The steam method uses heat and moisture to loosen the window tint adhesive safely. A handheld steamer or a pressure cooker steamer can provide the necessary steam.
Hold the steamer nozzle a few inches from the glass and apply steam evenly across the surface for 10 to 15 minutes. The steam softens the adhesive without harsh chemicals.
Start peeling the tint with a plastic scraper or your fingers once the film lifts easily. Work steadily, reapplying steam as needed to keep the glue pliable during removal.
After the tint is fully removed, wipe the window with a clean cloth and soapy water or a specialized cleaner to remove all adhesive traces. This method is gentle on glass and paint but takes more time.
For assistance with window tint removal or reapplication, our team offers professional, stress-free service to keep your vehicle looking its best.
For a DIY approach, combining heat or steam with careful scraping produces the most reliable results for removing tint from car windows without damage. Some tools and products are detailed in this DIY guide on tint removal.
Adhesive and Residue Removal
Removing window tint often leaves behind stubborn adhesive residue that must be handled carefully to avoid damaging your glass. The process involves safely peeling the tint film, eliminating leftover glue, and making sure the window surface is clean and intact before any new applications.
Peeling Tint Film Safely
Start by warming the tint film with a heat gun or hairdryer. The heat softens the adhesive, making the tint easier to peel without tearing. Begin at a corner and gently pull the film back at a low angle to minimize stress on the glass.
Avoid using sharp tools like metal scrapers, especially if your vehicle has defroster lines embedded in the glass, as these can be easily damaged. Use a plastic scraper or nylon blade if necessary for stubborn sections. If the tint resists peeling, reapply heat and be patient to reduce the risk of damage.
Removing Leftover Adhesive
Once the tint film is removed, you will likely have sticky residue left on the glass. To tackle this, apply an adhesive remover designed for automotive glass, or use rubbing alcohol in a pinch. Let the solution soak for several minutes to loosen the glue.
Use a plastic scraper or microfiber cloth to carefully wipe away the softened adhesive. Avoid harsh chemicals or abrasive tools, as these can leave scratches or etch the window surface. For tough spots, repeat the soaking and wiping until the glass is clean.
Cleaning and Inspecting the Window Surface
After removing the adhesive, thoroughly clean the window with a glass cleaner to eliminate any oily or sticky traces. Use a lint-free cloth to prevent streaks and ensure a clear surface.
Inspect the window for scratches, damage to defroster lines, or any remaining residue. If you notice damage, addressing it quickly will prevent further issues. A well-prepared surface is essential for any new window tint application or coating, ensuring optimal adhesion and appearance.
If you want expert help with tint removal or installation in Ramsey, MN, our store offers professional service that protects your vehicle and guarantees quality results.
Aftercare, Troubleshooting, and Professional Help
Removing window tint can leave your automotive glass needing extra care to ensure clarity and protection. Proper cleaning, awareness of common issues, and knowing when to get professional help will keep your windows in good shape after tint removal.
Post-Removal Cleaning and Maintenance
After you remove window tint, adhesive residue often remains on the glass. To clean it, use a mixture of warm soapy water or an ammonia-based cleaner with a soft cloth or scraper designed for auto glass. Avoid harsh chemicals or abrasive tools that might scratch the glass.
Focus on thoroughly wiping down the surface and drying it to prevent streaks or water spots. Keep your windows clean with regular washing to avoid dirt buildup, which can make tint removal harder in the future.
If you notice any damage or leftover glue that is tough to remove, gently reapply cleaner and wait a few minutes before scrubbing again. This step helps maintain clear visibility and prepares your windows if you plan to reinstall tint.
Avoiding Common Mistakes
One of the biggest mistakes when removing tinted windows is using sharp scrapers or metal blades, especially on windows with defroster lines. These can easily damage the heating elements inside the glass, causing costly repairs.
Another frequent error is rushing the removal process. Peeling tint quickly can leave adhesive behind and cause scratching. It’s better to use steam or ammonia methods to loosen the tint film and glue gently.
Avoid DIY tint removal in extreme temperatures—either very hot or cold conditions can make the glue stick harder or the film brittle. Waiting for mild weather helps reduce the risks of cracking or glass damage.
Keep in mind that improper cleaning post-removal can lead to streaks, smudges, and even damage to window seals or trim. Using the right products and techniques ensures your vehicle looks clean without extra hassle.
When to Seek Professional Window Tint Removal
If your tint includes defroster lines, is heavily glued, or bubbled beyond simple peeling, it’s wise to get professional help. Experts have the right tools and experience to remove tint safely without damaging your glass or defroster.
Professional removal is also recommended if you want a flawless finish free of adhesive residue. They use industrial-grade steamers and solvents that won’t harm your car.
You may consider professional service whenever your tint is old and fragile, or if you want to upgrade to a high-quality film afterward. Our team provides expert window tinting and removal, making the whole process stress-free and ensuring your car looks its best.
If you encounter stubborn glue or scratches during your DIY attempt, scheduling a professional assessment can save time and money in the long run.
Restore Your Windows The Right Way
Removing old window tint restores clarity, boosts safety, and preps your car for a fresh new look. Whether your tint is bubbling or fading, the right removal approach keeps your glass spotless and damage-free.
At Polarizauto in Ramsey, MN, we make tint removal stress-free with professional-grade tools and techniques. Our experts ensure a flawless finish so your car looks refreshed and ready for its next upgrade.
Ready to clear your view? Book your window tint removal today and enjoy spotless, streak-free windows that look brand new.
Frequently Asked Questions
Removing automotive window tint involves more than just peeling off the film. You need to consider how to avoid damage, remove stubborn adhesive, and whether professional help is worth it. The right tools and techniques make a difference in efficiency and results.
What is the most effective method for removing window tint at home?
The most effective home method is to use heat, such as a heat gun or a steamer, to loosen the adhesive. Once heated, carefully peel the tint away using a plastic scraper or razor blade at a low angle.
Reapplying heat as needed helps soften the film and glue, making removal smoother. Be patient and work slowly to avoid tearing the tint and leaving residue behind.
Can window tint be removed without causing damage to the glass?
Yes, you can safely remove window tint without damaging the glass if you avoid sharp scraping directly on the surface. Use plastic scrapers rather than metal blades, and keep the glass warm so the adhesive peels off more easily.
Avoid using razor blades on windows with defroster lines to reduce the risk of damage. For sensitive surfaces, professional removal can ensure the best protection.
What’s the best way to get rid of window tint adhesive residue?
Spraying a mixture of water and dish soap or using a specialized adhesive remover softens leftover glue. Gently scrub with a soft cloth or plastic scraper after the adhesive softens. Working in small sections and repeating applications may be necessary to fully clean the glass. A proper cleaner designed for automotive glass helps prevent scratching.
Is there a professional service for window tint removal?
Yes, professional services like those offered by Polarizauto provide expert tint removal, safeguarding your windows and defroster lines. They have specialized tools and experience to complete the removal faster and with less risk.
Hiring a professional adds 2–4 hours of labor but ensures thorough glue removal without damage. This minimizes frustration and protects your vehicle’s glass.
What are the benefits of using a specified tint removal spray?
Tint removal sprays are formulated to quickly break down adhesive, reducing the time and effort required for cleanup. They also help protect your glass by softening the glue for easier scraping. Using a product designed for window tinting yields better results than generic cleaners, saving you effort and preventing damage.
Which is preferable for window tint removal: steam or heat?
Both methods work well, but steam is gentler and less likely to overheat glass or damage surrounding seals. Heat guns provide more concentrated temperature control and can be faster, but require more caution.
Choosing between steam and heat depends on the tools you have and your comfort level. Steam may be safer for first-timers; experienced DIYers and professionals prefer heat guns.