Installing a remote car starter lets you warm or cool your vehicle before stepping inside. With proper wiring and setup, you can enjoy comfort, convenience, and security all year long.
At Polarizauto, we work with leading remote-start systems that integrate seamlessly with modern vehicle electronics. Our technicians ensure clean installations that respect manufacturer safety standards and preserve warranty coverage.
This guide explains how remote starters work, what tools you’ll need, and when professional installation is the safer choice. You’ll also learn how to test, troubleshoot, and maintain your system for long-term reliability.
Understanding Remote Car Starter Systems
Remote car starters let you start your engine from a distance, unlock doors, and trigger other vehicle functions. You should know how they connect to your car, which brands offer reliable kits, and what features each system provides.
How Remote Starters Work
A remote start system links a small control module to your vehicle’s wiring. When you press a fob or use an app, the module sends signals to the starter circuit and to the body control module so the engine cranks and runs.
Some systems use a direct wireless fob with limited range, while others use a cellular or Bluetooth module paired with a smartphone app for long-range control. Installers often use a T-harness to plug into factory connectors and avoid cutting wires.
The module must also connect to the ignition, parking brake, brake switch, and hood switch for safety. Proper grounding and correct wire splices prevent electrical shorts and faults.
How Remote Start Systems Use Wireless Frequencies
Remote starters rely on short-range radio frequencies to transmit start and stop commands from the key fob to the vehicle module. The U.S. Federal Communications Commission (FCC) regulates these frequencies under Part 15 of Title 47 to prevent interference with other electronic devices.
Power output, antenna design, and nearby obstructions all influence real-world range. Choosing a system tested for FCC compliance guarantees performance and prevents interference with safety electronics. Installers often mount antennas near the windshield for the best signal path and consistency.
Popular Brands and Models
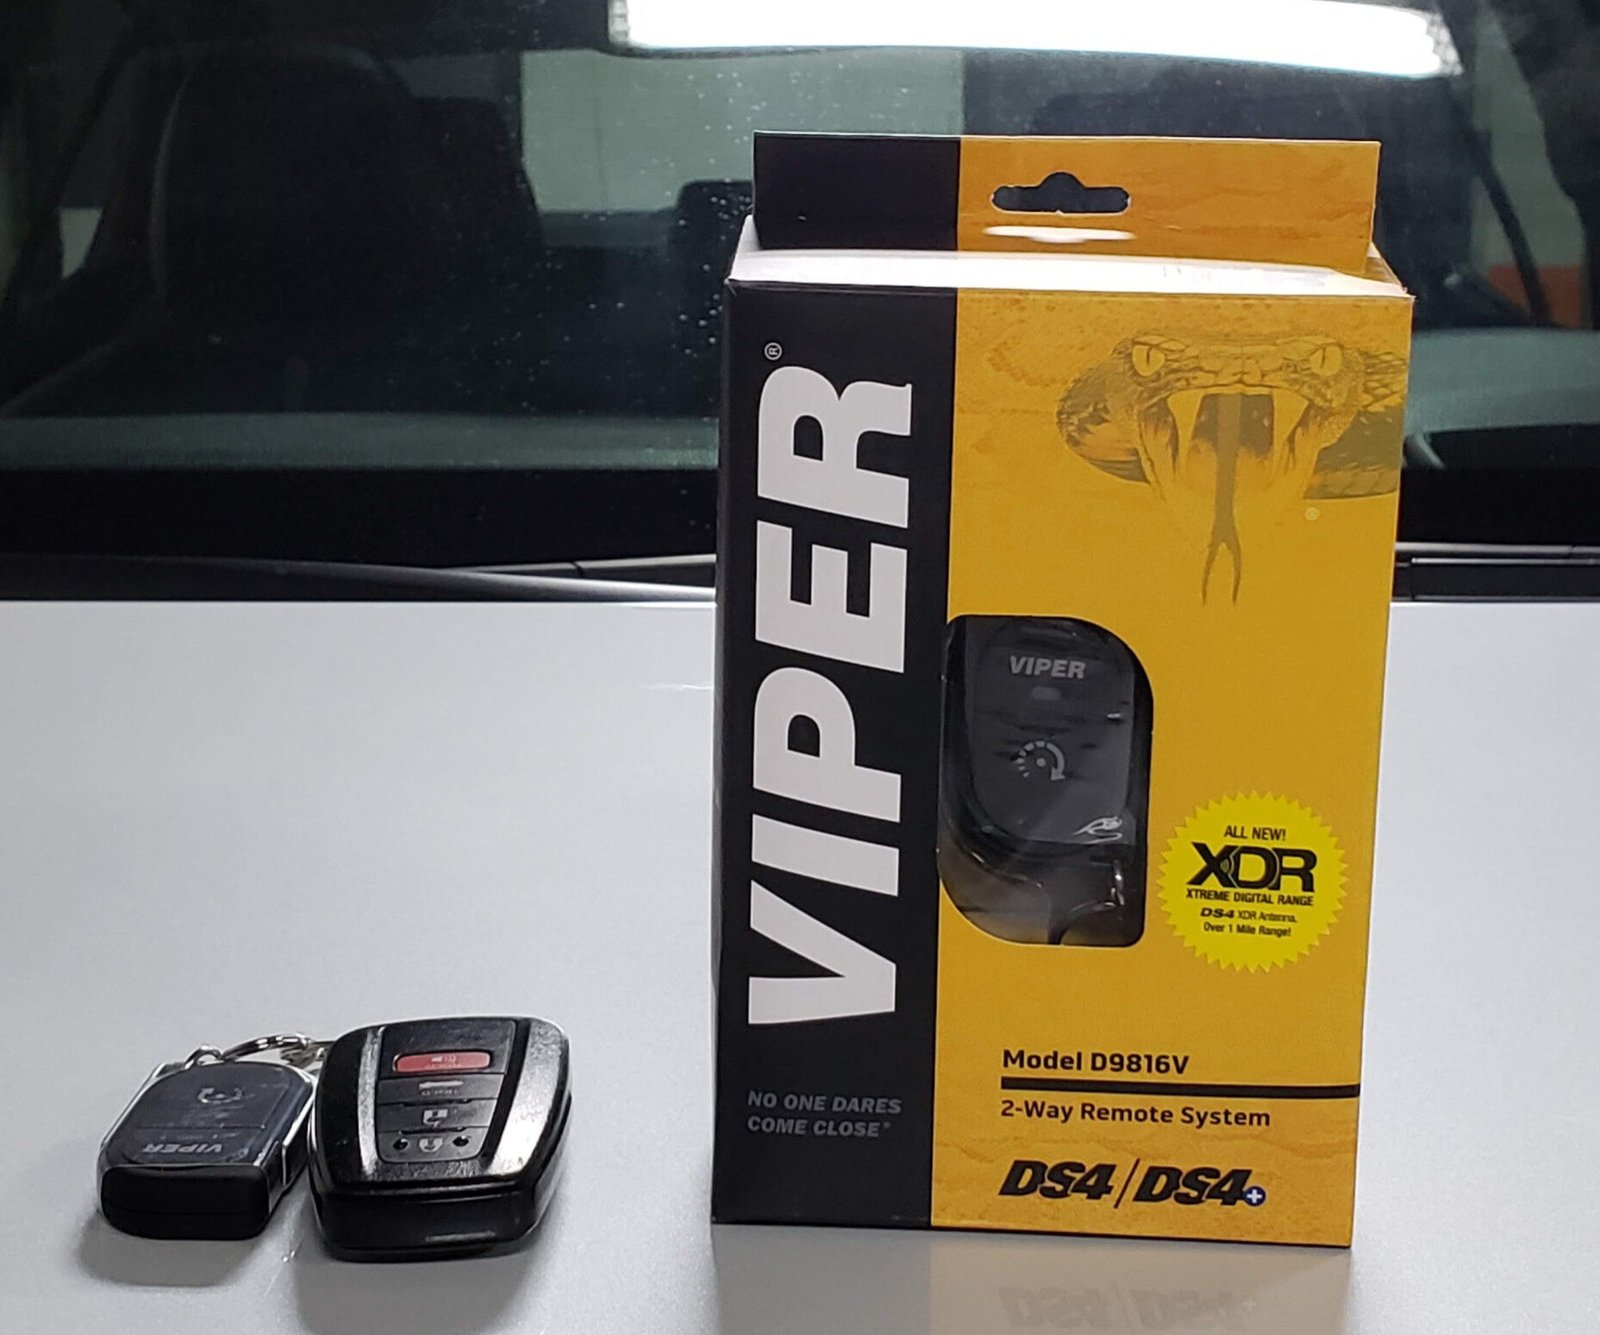
Several brands stand out for reliability and features. Compustar and Viper are common choices. Compustar offers models that work with the DroneMobile app for unlimited range via cellular add-ons.
Viper provides systems that combine remote start with alarm features and keyless entry. Entry-level remote starter kits provide basic start/stop and lock/unlock functions at a lower cost.
Mid-range kits add extended-range fobs and two-way confirmation. High-end systems include smartphone control, GPS tracking, and longer-range transmitters. Choose a kit that lists model compatibility and vehicle-specific firmware to reduce installation issues.
Key Features and Capabilities
Look for these features when you pick a remote starter or remote start kit:
- Range types: short-range fobs, extended-range two-way remotes, and smartphone (cellular) control.
- Safety interlocks: require the hood closed, the brake off, and sometimes the parking brake engaged before starting.
- Integration: ability to work with factory security and keyless entry without voiding warranties.
- Extra functions: trunk release, remote door unlock, heated seat/defrost activation, and alarm integration.
Check if the kit includes a T-harness and vehicle-specific instructions. That lowers install time and the chance of wiring mistakes, which can cause shorts or security conflicts if handled incorrectly.
Pre-Installation Preparation
Check vehicle fit, gather the right tools, and get wiring diagrams before you start. These steps protect your vehicle’s electronics and make the install faster.
Vehicle Compatibility Considerations
Confirm your car supports remote start before buying a kit. Check the year, make, and model against the remote starter’s compatibility list.
For vehicles with factory push-button start, modern CAN-bus systems, or transponder keys, you will likely need a model-specific harness, CAN module, or professional calibration. Review dealer or manufacturer notes about alarm, immobilizer, and automatic transmission interlocks.
If your car has an aftermarket alarm or OEM security, plan how the remote start will arm/disarm and how it will sense hood, brake, and clutch inputs. Ignition wiring and accessory circuits can vary by trim; mismatching them can prevent start or damage modules.
Required Tools and Materials
Gather your tools and parts before opening panels. At minimum, get: a multimeter, wire strippers, crimpers, a soldering iron (or quality crimp connectors), heat shrink tubing, solder, electrical tape, zip ties, and a T-harness if available for your model.
Buy a remote start kit that lists your car as compatible. Add a relay pack if the kit lacks high-current switching for the starter or ignition. Have replacement fuses and a small assortment of ring terminals and butt connectors.
Use heat-shrink tubing over solder or crimp joints to seal connections and prevent corrosion. Don’t forget safety gear: gloves and goggles.
Gathering Wiring Diagrams
Obtain accurate wiring diagrams for both the vehicle and the remote starter. Use a factory service manual, a manufacturer’s wiring PDF, or a reputable online database for your exact model and year.
Diagrams will show ignition wiring, starter wire, accessory circuits, and ground locations. Cross-check pinouts for the ignition switch and ECU connectors against the diagrams before cutting or tapping wires.
Mark wires with tape and note voltages with your multimeter while the key cycles through OFF/ACC/ON/START. Keep a printed copy of the remote start’s installation guide and wire legend beside you during wiring to avoid mistakes.
Remote Car Starter Installation Process
Prepare your tools, protect the car’s electronics, and map the wires you must connect. Work methodically so you match the starter module leads to the correct vehicle wires and use proper insulation and grounding.
Disconnecting the Battery and Accessing Wiring
Disconnect the negative battery terminal before you touch any wiring. This prevents shorts and keeps the vehicle’s computers safe while you work.
Remove the lower steering column cover and any kick panels that block access to the ignition harness. Keep screws and clips organized so you can reassemble panels without pinching wires.
Work with the battery disconnected when soldering or using heat shrink. Reconnect the battery only for testing. Avoid probing yellow airbag wiring; those are off-limits and can deploy the bag if disturbed.
Mount the remote starter module in a hidden, dry spot under the dash near the ignition harness. If the kit includes a T-harness, use it to avoid cutting factory connectors. Secure the ground to clean, unpainted metal in the kick panel area.
Identifying Key Wires
Locate the constant 12V, accessory, ignition, starter, tachometer, and brake/parking light wires. Use your vehicle manual and a digital multimeter to confirm each one.
- Constant 12V: reads ~12V with key out.
- Accessory wire: 12V with key in ACC position only.
- Ignition wire: 12V in RUN position (feeds fuel/ignition systems).
- Starter wire: shows 12V only while cranking.
- Tachometer wire: pulses with engine RPM; found at coil/distributor or ECU.
- Brake/parking wires: change when the brake pedal is pressed or the lights are on.
Label each wire with tape before making connections. If your car has multiplexed or push-button start systems, identify whether a T-harness or bypass module is required for proper anti-theft operation.
Connecting the Remote Starter System
Follow the kit diagram and solder or use crimped connectors on all joins. Connect the starter module’s constant power to the vehicle’s fused 12V source. Tie the module ground to a clean metal point using a ring terminal.
Attach the module accessory output to the vehicle accessory wire so HVAC and radio behave correctly when started remotely. Connect the module ignition output to the vehicle ignition wire; this lets the engine run and the fuel system stay active.
Hook the module starter output to the starter solenoid wire so the engine cranks. For tachometer-based systems, connect the tachometer wire to the module’s tach input to detect engine start and disengage cranking. Use the brake wire input to inhibit remote start when the brake is pressed.
If your kit includes a T-harness, use it to keep factory connectors intact and reduce cutting. Protect all connections with heat shrink and electrical tape, secure wires with zip ties, and test each function (start, lights, brake safety) before re-closing panels.
Integrating Additional Modules and Systems
This section explains how to connect extra modules so your remote start works with the car’s security, immobilizer, and safety circuits. It covers wiring choices, programming needs, and precise locations for mounting and testing the modules.
Alarm System Integration
When connecting the remote start to an alarm, locate the alarm’s data or trigger wires at the main alarm module or under-dash harness. Connect the remote start’s lock/unlock, trunk, and status output wires to the alarm’s corresponding inputs.
Use a vehicle-specific harness or data interface when the alarm communicates over CAN bus. Test each function after splicing: lock/unlock should send the proper pulse length; status outputs must confirm remote start active.
Secure the alarm module and antenna behind the dash, away from moving parts. Use solder or high-quality crimp connectors and glue-lined heat shrink for vibration resistance.
Document the wire colors and splice points. If the alarm has a valet or aux input, program that for remote-start enable/disable to prevent conflicts during service. Keep all alarm grounds on unpainted chassis metal and re-check the system after a battery disconnect or re-flash.
Bypass Modules for Immobilizers
Most cars built after the late 1990s use a transponder key or immobilizer that prevents starting without the key’s code. Add a bypass module that emulates the transponder signal or injects the key code to allow remote cranking. Choose a bypass designed for your exact year, make, and model.
Mount the bypass near the steering column or ECU as the instructions specify. Follow the programming steps exactly—many require a sequence using a spare key or cycling ignition to teach the module the transponder code.
Test by attempting standard key start and then remote start; the engine should not die after remote start due to immobilizer shutdown.
Avoid soldering directly to factory immobilizer boards unless instructed. Use the provided wiring harness and secure grounds. Keep the bypass module’s antenna oriented per instructions to ensure reliable communication with the vehicle computer.
Installing Safety Features
Integrate safety interlocks like brake-shift inhibitions, hood pin switches, and kill switches to prevent remote start when unsafe. Connect a normally-closed hood switch to the remote start’s safety input so the system disables if the hood is open.
Tie the brake pedal switch wire so the remote start cannot engage with the brake depressed on manual-transmission cars. For manuals, add a neutral safety module or clutch/park sensor input to prevent starting unless the car is in neutral and the parking brake is engaged.
Install a kill switch for extra theft deterrence; place it inline with the starter or ignition feed and hide it in an accessible but discreet location.
After wiring, verify every safety feature by simulating fault conditions: open the hood, depress the brake, shift out of park, and confirm the unit refuses to start. Label and secure all safety wiring to prevent accidental shorts or tampering.
Programming, Testing, and Troubleshooting
Program the remote start kit to communicate with your vehicle, then run tests to confirm each function works. If something fails, check power, wiring, and settings before replacing parts.
Programming the Remote Starter
Follow the remote start kit manual for the correct button sequences and vehicle-specific steps. Usually, put the vehicle in “program” or “valet” mode, press a sequence on the factory key or dash, then press the remote fob to pair it.
The kit’s small LED or audible beep will confirm successful programming. If your vehicle has an immobilizer or alarm, you may need an adapter or bypass module from the kit. Program extra remotes the same way.
Keep a spare battery for the fob and label which remote pairs to each vehicle. Write down the model numbers and serials of the remote start kit and remotes. This helps if you need firmware updates or dealer assistance later.
Testing System Functionality
Test from close range first, then at the distances you plan to use. Check these functions in order:
- Remote start/stop engine
- Door lock/unlock
- Trunk release (if included)
- Alarm arm/disarm and valet mode
Check safety features: make sure the engine won’t start with the hood open, and that pressing the brake pedal or shifting into gear cancels remote start. Watch engine RPM and listen for abnormal sounds during the first remote start.
Test the range and move the receiver antenna if needed for a better signal. Replace fob batteries and re-test if signals are inconsistent.
Troubleshooting Common Issues
If the engine won’t start, first check the vehicle battery voltage and fuses for the kit. Inspect harness connections at the ignition, starter, and accessory wires. Loose or corroded pins often cause failures.
For intermittent operation, test the remote battery, antenna location, and ground connection. Try a known-good remote if you have one. If the engine starts, then dies, re-check immobilizer bypass wiring and tach or RPM sensing connections.
If locks or trunk functions fail, confirm the kit’s relay outputs match your vehicle’s lock type (pulse, constant, or reverse polarity).
Use the kit manual’s LED codes or diagnostic mode to read error codes. If problems persist, contact the kit manufacturer or a professional installer with the remote start kit model and vehicle details.
Reliable Comfort Starts With Smart Installation
Installing a remote starter boosts everyday comfort while keeping your car secure and electronics protected. Correct wiring, bypass setup, and safety checks ensure the system performs in every season.
At Polarizauto, our certified installers use vehicle-specific data and tested procedures to deliver clean, warranty-safe results. We work with trusted remote-start brands to guarantee compatibility and performance.
If you’re ready for easier mornings and safer starts, schedule a remote-starter consultation or visit the shop to explore system options today.
Frequently Asked Questions
These answers cover price drivers, top system choices, car compatibility, installation time, manual-transmission rules, and common warranty terms. Read each short Q&A to find practical details you can use when planning a remote starter purchase or installation.
What factors affect the cost of remote car starter installation?
Vehicle make and model affect labor time and parts needed. Newer cars with push-button start or advanced security often need a bypass module, which raises cost. System features also change the price. Basic one-way starters cost less than two-way or smartphone-controlled systems, and features like trunk release or heated-seat activation add wiring work.
Installer skill and location matter. Certified shops charge more for warranty-backed labor, and urban areas usually have higher rates than small towns.
Which is the best remote car starter system available on the market?
No single system fits every need. Choose based on the features you want: long range, two-way confirmation, smartphone control, or precise vehicle integration. Look for reputable brands with proven vehicle compatibility and good support. Pick systems that offer necessary features without needing risky modifications to your car’s wiring.
Are there specific car models that are incompatible with remote starters?
Some vehicles present challenges rather than absolute incompatibility. Cars with advanced factory security, complex CAN bus communication, or integrated telematics may need special modules or dealer-specific parts.
Very few modern cars are impossible to equip, but costs and complexity can be high. Always check a fitment guide or ask an installer with experience on your exact year, make, and trim.
How long does it typically take to install a remote car starter?
Basic installations usually take 2–4 hours. Complex installs that need bypass modules, trunk wiring, or deep integration can take 6–12 hours or more. If the installer must diagnose unusual wiring or source vehicle-specific modules, plan for extra time. Ask the shop for an estimated start-to-finish time before you drop off the car.
Is it possible to install a remote car starter on a vehicle with a manual transmission?
Yes, but installers must add safety measures. Systems for manual cars include neutral-safety checks and clutch or parking-sensor interlocks to prevent the car from starting with the transmission engaged.
Some shops may avoid manual-transmission installs for liability reasons. Confirm the installer’s experience and the specific safety features used before proceeding.
What warranties or guarantees are provided with remote car starter installation services?
Manufacturers often give a limited lifetime warranty on control modules and a 1-year warranty on remotes and bypass devices, depending on the brand. Labor warranties differ; many shops offer 90 days, while some extend coverage longer.
Get warranty details in writing. Check what parts, labor, and conditions the warranty covers, such as vehicle tampering or battery faults.