Thinking about window tinting in Anoka County? Tinted windows cut glare, block UV rays, keep your car cooler in summer, and boost privacy – so you get more comfort and protection every day. If you want to protect your interior, improve comfort, and add a clean look to your vehicle, automotive tinting in Anoka County delivers those benefits without drama.
You’ll find out what tinting actually does, which films handle Minnesota weather best, how professional installation compares to DIY, and what to expect for care and cost. Our team at Polarizauto offers local, expert service if you’d rather skip the hassle and get a pro install that stands up to cold winters and hot summers.
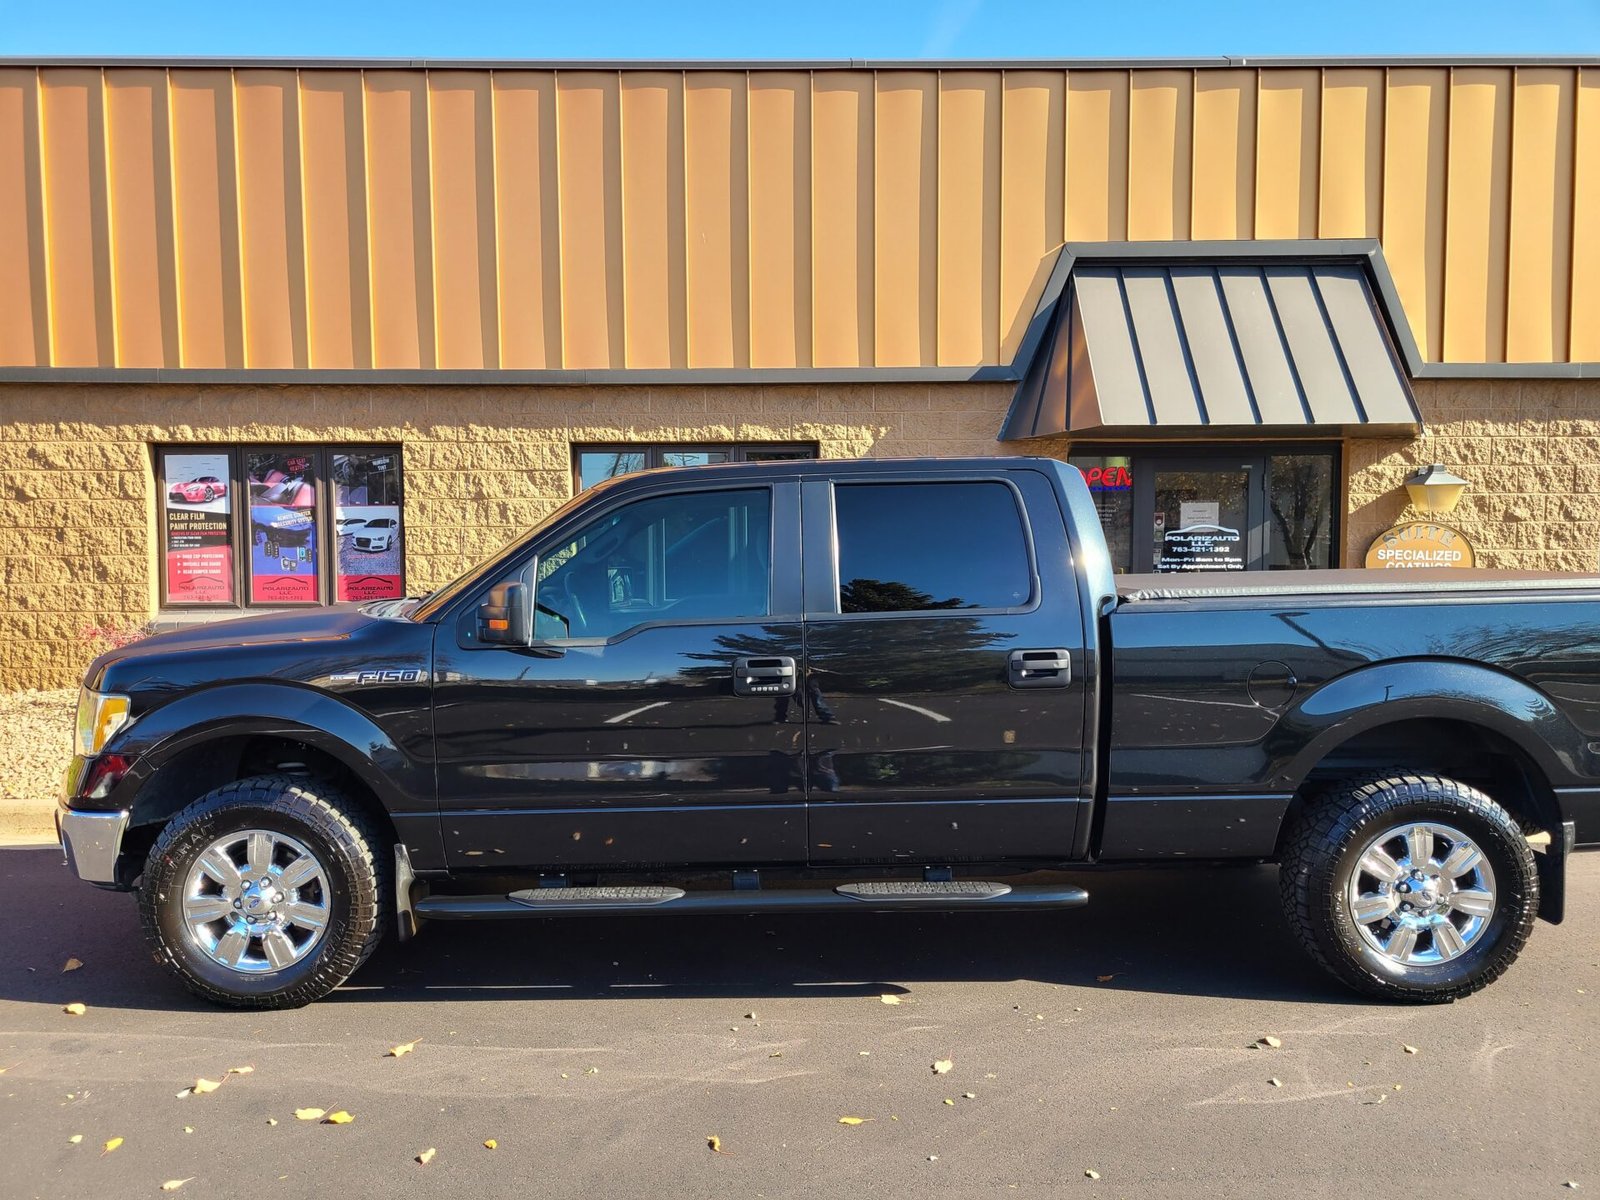
Automotive Tinting
Automotive tinting means adding a thin film to your car’s windows to cut heat, block UV rays, and give you more privacy. It changes your car’s look, too, and helps protect the inside from sun damage.
How Window Tint Works
Window tint is a polyester film applied inside the glass. The film might use dyes, metals, or ceramic particles to absorb and reflect solar energy, so less sunlight and heat get into your car.
Tint blocks UV-A and UV-B rays that fade your upholstery and damage skin. Some films also cut glare, which is a lifesaver when you’re driving into the sun. Installers like Polarizauto clean the glass, remove tiny defects, and use heat to make the film fit just right.
Film performance depends on type and visible light transmission (VLT). Lower VLT means a darker tint and more heat rejection. For care, just wait a few days after install, then clean with mild soap and a soft cloth.
Types of Automotive Tint
You’ll see dyed, metalized, carbon, and ceramic films out there. Dyed film is affordable and gives a uniform look, but doesn’t block as much heat. Metalized film has tiny metal flakes that reflect heat and make glass a bit stronger, but sometimes mess with radio signals.
Carbon film looks matte and blocks more heat, with no metals. Ceramic film uses nonconductive ceramic particles for top heat and UV protection, and it won’t interfere with electronics. Films come in different darkness levels (VLT) and have rules for windshield, front, and rear windows.
Pick your film based on what matters most: cost, heat reduction, signal interference, and how long you want it to last. Ask about warranties and lifespan—better films usually last longer and don’t bubble or fade as quickly.
Window Tinting Laws In Anoka County
Minnesota has legal tint limits, and those apply in Anoka County. Usually, front side windows need to let in more light than the rear. Windshield tinting is only allowed at the top. These rules use VLT percentages to measure how dark you can go.
Police can check tint during traffic stops, and illegal tint can mean fines or having to remove it. Medical exemptions exist, but you’ll need paperwork. Always get a certificate or label from your installer showing your film’s VLT and compliance.
Not sure if your tint is legal? Bring your car to a local shop – we can test it for you and recommend a better alternative, if needed.
Why Window Tint in Anoka County
Tinting your car windows cuts UV exposure, lowers cabin heat, and boosts privacy. It also helps protect seats and electronics from sun damage and can make your vehicle harder to break into.
UV Protection and Skin Safety
Window tint blocks most of the sun’s ultraviolet (UV) rays that cause skin damage and fade interiors. Good-quality films can reject up to 99% of UVA and UVB rays, so your skin takes less of a beating every drive.
You and your passengers spend hours in the car. All that exposure adds up, especially for kids or anyone with sensitive skin. Tint slows fading and cracking of leather, vinyl, and fabric seats, which saves you money on repairs.
Want a certain level of protection? Ask for a tint that lists its UV rejection percentage. Installers at Polarizauto can show you test data and recommend films that fit Minnesota’s safety needs.
Heat Reduction for Vehicle Comfort
Tint cuts heat by blocking solar infrared energy and some visible light. That means your car cools faster with the A/C and uses less fuel or battery power.
Hot summer days in Anoka County get a lot more bearable with a cooler cabin—less glare, safer seats for kids and pets. Ceramic and carbon-ceramic films do the best job for heat rejection without making your view too dark.
Look for tint with a listed Total Solar Energy Rejection (TSER) percentage. Installers can compare films and show you what kind of temperature drop you might get.
Privacy and Security
Tinted windows make it harder for people to see your stuff inside. That simple barrier discourages theft in parking lots and on the street.
Tint adds a thin film layer that helps hold shattered glass together in a crash or break-in. It’s not bulletproof, but it can keep glass from scattering and might slow down a thief.
Pick a tint shade that balances privacy with what’s legal. A pro can explain Anoka County and Minnesota rules and help you pick a darkness that keeps you safer and legal.
Choosing the Right Tint for Your Vehicle
Choose a tint that fits your comfort, legal limits, and budget. Think about heat rejection, privacy, and how long you want it to last.
Comparing Tint Levels and Shades
Tint levels range from super dark (5% VLT) to almost clear (70%+ VLT). Lower VLT blocks more light and heat but can make night driving tricky and might break the law for front windows and windshields in Anoka County. Pick a VLT that balances cooling and nighttime visibility.
Shades vary by color and material. Metalized and carbon films reflect heat well and last a long time. Ceramic tints give you top heat rejection without messing with electronics and resist fading best. Ask for specs like UV block and infrared (IR) rejection to compare real performance.
Factory Tint vs. Aftermarket Tint
Factory tint is usually a light, even shade baked into the glass—basic glare reduction but not much heat rejection. It doesn’t offer the same UV or IR protection as many aftermarket films.
Aftermarket tint lets you pick the material, shade, and warranty. Pros install precision-cut film and guarantee it’ll stick and last. If you want stronger UV protection, better cooling, or more privacy, aftermarket ceramic or solid carbon films make sense. Polarizauto can check your car and show you samples if you’re undecided.
Recommendations for All Vehicle Types
For daily drivers, a mid-range ceramic tint (35–50% VLT front, darker rear) balances heat control and safe night driving. It cuts glare and keeps AC use down on long trips.
For trucks and SUVs used for work or family, go for a tough ceramic or carbon film on the rear windows for privacy and less fading inside. Keep the front windows within legal VLT limits to avoid tickets.
For luxury or show cars, high-performance ceramic film gives you maximum UV/IR rejection and color stability. Ask about warranties and professional install to avoid bubbling or peeling.
Professional Installation vs. DIY
Choosing a professional tint installer means you get someone who knows how to get the fit right the first time. Instead of guessing with templates or hoping a film will sit flat, an experienced technician shapes the tint to your exact window curves, trims everything cleanly, and applies it under the right conditions so it bonds smoothly.
Expert Techniques and Precision
A trained installer uses heat, cleaning solutions, and tools the right way, which is what keeps the film tight and free of bubbles. They understand how to remove old adhesive, clean away tiny dust particles, and prep the glass so the tint can lie perfectly flat. They also know how to measure and select the correct visible light transmission for Minnesota laws, so you don’t have to worry about compliance.
Professionals are used to working around the tricky parts too. Heated rear windows, cameras, sensors, or aftermarket antennas all need special care so the film does not interfere with electronics or leave gaps. That skill makes a big difference in long-term clarity and resale value.
Why Experience Matters
The real benefit of professional tinting is consistency. Pros control the temperature and humidity during installation, which helps the film cure evenly. They know how to avoid stretching the film, how to seal edges properly, and how to prevent moisture from settling near defroster lines or door seals. It’s the kind of detail that is hard to get from a first-time DIY attempt.
Potential Pitfalls of DIY Tinting
DIY kits can look appealing because they cost less up front, but they are easy to misapply. Trapped dust, crooked cuts, or cloudy adhesive are common issues, and once they happen, it usually means peeling everything off and starting over. If the film shrinks or bubbles as it cures, there is often no simple fix.
Removing poorly applied tint takes time, and that added labor can make a correction more expensive than getting it done right the first time. Our team at Polarizauto can repair DIY mistakes when needed, but most drivers prefer to avoid the extra cost and stress by opting for a clean, professional install from the start.
What’s The Automotive Tinting Process?
Here’s what happens: techs prep your car, apply the film, and check the finished job. You’ll know what’s coming at each step and what you should do before and after.
Preparing Your Vehicle
Techs start by cleaning the glass and door pockets where dust hides. They remove stickers, any old tint, and vacuum around the windows to keep dust out from under the film.
Installers inspect glass for chips or cracks. Small chips can mess with adhesion and might need fixing first. You should pull out loose items, child seats, and hangings so they can open doors and work easily.
If you want a certain darkness or ceramic/metal film, confirm it now. Installers in Anoka County follow Minnesota tint laws and measure VLT to make sure your car stays legal.
Step-by-Step Application
Techs measure and cut the film a bit bigger than each window, then spray a soapy solution on the glass. They place the film on the wet window and trim it to fit using the window frame as a guide.
Next, they squeegee out water and air bubbles, working from the center out. For rear windows with defroster lines, they tuck film carefully around the lines and might heat it to fit curves.
Installers clean the edges and trim extra film. They check door seals and roll windows up and down to make sure the film doesn’t catch. Each door usually takes 20–40 minutes, depending on how tricky the window is.
Curing and Final Inspection
After application, the film needs time to bond. Techs wipe the edges and let the car sit so adhesive sets—this can take a few days to a few weeks to fully cure, depending on humidity and film type.
They check for bubbles, loose edges, or peeling. They also confirm the tint darkness matches state rules and what you picked. The installer will show you each window and explain any care steps.
You’ll get aftercare tips like don’t roll down the windows for 3–7 days and only use mild, ammonia-free cleaners. If you spot lifting or big bubbles after curing, call the shop for a warranty check; Polarizauto often documents results and will guide you on repairs.
Caring for Tinted Windows
Stick to a few easy habits to keep your tint clear, bubble-free, and looking good. Clean gently and wait a bit after install to protect the adhesive and your film’s finish.
Cleaning Tips and Best Practices
Grab a spray bottle with a 50/50 mix of water and mild dish soap, or use a tint-safe cleaner. Spray the cleaner onto your cloth—not directly on the glass—to keep moisture away from the edges where the adhesive sits.
Wipe the glass with a soft microfiber cloth using straight strokes. Skip abrasive pads, paper towels, or anything ammonia-based; those can scratch or lift the film. Clean both sides of the glass often enough to keep grit from scratching the tint.
Dry the glass right away with a clean microfiber to avoid streaks. For stubborn spots, let the cleaner sit for a minute, then gently scrape residue with a plastic razor blade held low. Peek at the edges for any lifting—catching small problems early saves you from bigger peels down the road.
What to Avoid After Installation
Don’t roll down your windows for at least 5–7 days after getting them tinted. The adhesive needs time to cure. If you roll them down too soon, you’ll risk lifting, bubbling, or misaligned film.
Skip automatic car washes with high-pressure brushes for the first two weeks. Stick to hand or touchless washes while the film bonds. Be gentle near seams and edges—no heavy scrubbing.
Stay away from ammonia, bleach, or strong solvents. These break down adhesive and can discolor the film. If you spot bubbling or need help, reach out to your installer—Polarizauto can check out small issues before they turn into bigger headaches.
Whether you want cooler summer drives, better privacy, or real protection from Minnesota’s sun and salt, the right window tint makes every trip a little easier. Once you understand your film options, local tint laws, and what goes into a clean install, it becomes much simpler to choose the setup that fits your comfort and your car.
If you ever want help picking a film or you’d rather trust someone who installs tint every day, the team at Polarizauto is always here to walk you through your choices and make the process stress free. Stop in, ask questions, or bring your car by for a quick look. With the right tint and a proper install, your vehicle stays cooler, clearer, and better protected for the long haul.
Frequently Asked Questions
Got questions? Here’s a quick rundown on rules, weather effects, service picks, job time, warranties, and current deals for car tinting in Anoka County.
What are the current legal regulations for car window tinting in Anoka County?
Anoka County follows Minnesota state tint laws. Front side windows must let in more light than darker tints; windshield tint is only allowed on the top strip.
Tint darkness is measured by Visible Light Transmission (VLT). Always check the latest Minnesota Department of Public Safety rules before you get tint—nobody likes fines.
How does weather in Anoka County affect the longevity of automotive tint?
Cold winters and road salt can stress film edges and adhesive. Sun and summer heat speed up fading and can weaken cheap films.
Pick a UV-stable, high-quality film and make sure the edges are sealed well. Regular washes and rinsing off salt in spring help your tint last longer.
Can you recommend a reliable and budget-friendly car tinting service in Anoka County?
For a balance of quality and price, look for a local shop with a solid warranty and good customer reviews. Polarizauto in Ramsey does pro installs and can advise on film types and costs.
Ask shops for before-and-after pics, VLT ratings, and proof of film brand so you can compare quality without overspending.
How long does the tinting process typically take for an average-sized vehicle in Anoka County?
Most sedans take about 2 to 4 hours for a full tint job. Trucks and SUVs might need 3 to 6 hours, especially if the glass is tricky.
If you’re getting old tint removed or paint protection too, expect a longer appointment. Block out half a day, just to be safe.
What warranty options are available for automotive tinting in Anoka County?
Most pro shops offer warranties covering bubbling, peeling, or adhesive failure. Warranty length runs from 3 to 10 years depending on film and installer.
Ask for the warranty in writing, with details on what’s covered and any maintenance rules you’ll need to follow to keep it valid.
Are there any ongoing promotions or discounts for car tinting in Anoka County?
Shops around here tend to roll out seasonal discounts, package deals with ceramic coating, or lower prices if you’re tinting more than one car at a time. These promos shift a lot, so it’s honestly best to call them or poke around their websites before you lock anything in.
Polarizauto, for example, will sometimes toss out offers for locals—just ask about any current specials when you’re getting a quote.